
A few weeks ago, I posted about how I wanted a wrap made from a non-stretchy woven fabric so that I could begin safely carrying Joseph on my back. I did some googling and found out that most woven wraps are sold for $80 to $100 or more. So not happening. Then I checked Etsy and found some pretty and decently priced wraps at this vendor. She sells woven wraps for as low as $34, which is a pretty sweet deal!
I was tempted, but I decided that I could make my own for cheaper and I did it! I actually did it! Hurray for follow through! Fortunately, it was SUPER EASY!

Mickey is modeling, as Joseph was napping. He's a nice mouse.
I found some really helpful instructions at this site and used them. (Just be careful because my laptop blocked it once for a malicious advertisement. I just reloaded the site and it changed to a different non-malicious advertisement.)
Here's what I did:

Step 1 - I gathered my materials. You need 6-7 yards of fabric 28-30 inces wide, scissors, thread, a chalk pencil, measuring tape, an iron, an ironing board, and a sewing machine.
I already had everything I needed except for the fabric. Since everything I've read suggests that woven fabrics made from 100% cotton are best for back carrying, that's what I looked for. To keep the price down, I limited my search to the clearance section only. I found a pretty 100% cotton blue eyelet fabric manufactured in India for $2.49/yard. (In retrospect, now that I've worn it, I would avoid eyelet fabrics and go for something completely smooth. It chafes just a little on bare skin. Fortunately, it's fall and soon to be winter, and I'm not concerned about bare skin!!)
I was really looking for something closer to $1/ yard, but I really liked this fabric and my girly gene won out over my thrifty gene. I got 7 yards to be safe. You can always tuck extra fabric or cut the wrap down later. With the 7 yards, my grand total was $17.43. Since I only needed half of the fabric to make my wrap, it really only cost about $8.72. (If you get a fabric that is 60 inches wide, it will actually make 2 wraps.)

Step 2: Cut your fabric to the right length and width. The length is up to you, your personal preference, and body type. I went for 7 yards, which is a bit on the long side. I may cut it down to 6 yards one day, but I wanted the extra fabric to work with. For back carrying, the width should be 28 to 30 inches. Remember to add an extra inch or two for hemming. I folded the edge of my fabric over 16 inches, pinned it in place, and then cut along the edge. This way, I wound up with a 7 foot long piece of fabric that was about 32 inches wide. I left it folded in half hot dog style.
Step 3: This step is crucial to a successful wrap, so listen up! Take the excess fabric and wrap it around your head as a turban. Own the look. Pretend you're the Sultan of Sewing. Insist that everyone bow down before you.

You only wish you could have a turban like this.
Step 4: Determine that maybe turbans are not the best look for you... Maybe. Shrug and move on with your life. Turbanless.

Step 5: To make tying your wrap easier, you want the ends to taper to a point. I used a chalk pencil to draw a line from folded corner of the fabric to a predetermined point on the unfolded side. How far back is up to you and depends on how much you want the end of your wrap to taper. I chose a point 1.5 feet back from the end and cut away the unneeded fabric.

When you unfold your fabric, the end should look something like this:

Step 6: If you are sewing a woven fabric, you have to finish the edge with either a serger or by hemming it. I hemmed my wrap. I folded the edge of the wrap inward about a 1/4 inch and ironed it flat.

Step 7: I folded the ironed edge over one more time, ironed it again, and pinned it in place.

Step 8: Finally, I used my sewing machine to sew the hem.
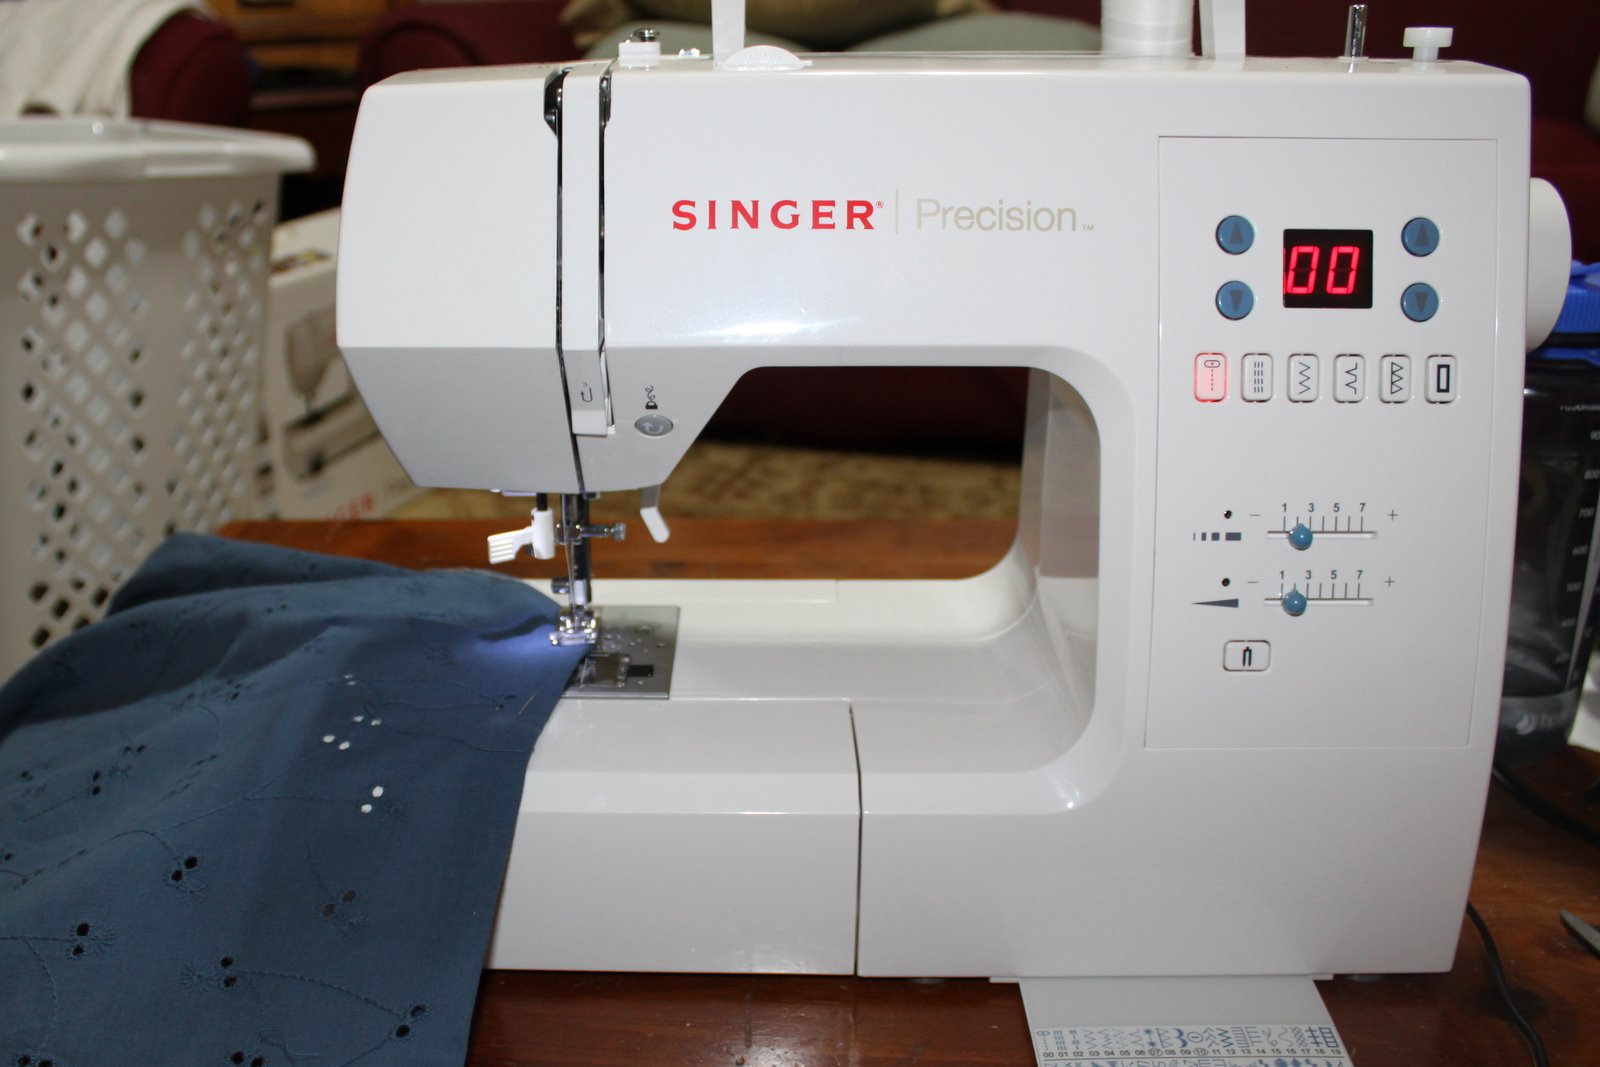
Since I have a really nice sewing machine (Thanks, Grandmom!!) and I'm a girl, I picked a pretty stitch and white thread.

Pretty stitches make me happy. I love my sewing machine with it's 57 different stitch options. I actually used it to make my own wedding veil. Lots of tulle and a scalloped edge. It rocked.

Finally, I sewed an asterisk star in the middle so that I can easily find the center whenever I wrap Joseph. Overall, this project took me from midnight until 4 am. However, if I had chosen a simpler stitch, it probably would have only taken me about 2 hours. The final product ended up being 29 inches wide. Perfect!

And that's how I made my own wrap. I hope that this tutorial made some semblance of sense. It's late and I tend to babble incoherently when it's late. If you are looking to make your own wrap, I hope this helps you! It's a great way to save money.
Back carrying pictures are in your future. As soon as I figure the back carries out... YouTube, here I come!
Maybe Mickey will let me practice on him? He's a pretty nice mouse, after all.
I am VERY impressed. I LOVE that stitch!!
ReplyDeleteAwesome machine! AHH! I want one!!!!!!
ReplyDelete