
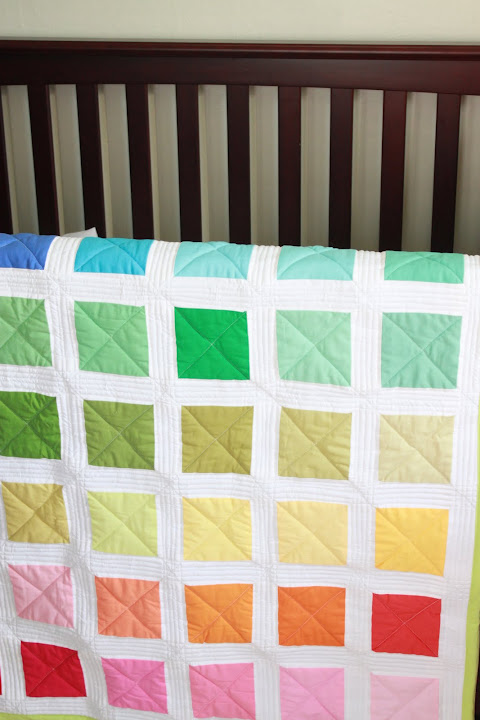
When my sister-in-law Sarah first started pinning pictures for her nursery inspiration board, this happy, rainbowy quilt was one of the things she pinned.

Source: newlywoodwards.com via Sarah on Pinterest
Isn't it adorable? It was made by the ever so talented Kim Woodward.
Then, during some conversation or another with Sarah, she gushed about this quilt for a good 2 minutes. And I quote, "I love that spectrum quilt like whoa. It is the Bees Knees. It is the most awesome quilt of all time." Clearly, she needed some quilted rainbow in her life. When she posted a picture of the same quilt as inspiration for her nursery in this post, it was all over. My niece was destined to sleep blanketed in happy rainbow squares. That was that.
This may be a good time to mention that I've never actually successfully made a quilt before.
I attempted to sew a small quilt when I was 13. It was pink & purple with little fluffy hand sewn hearts on it. (Scary and mildly revolting.) I was such a cool teenager. Anyways, since it was unsuccessful and I never finished it, I don't really think that it qualifies here.
My lack of experience aside, I reasoned that if I could successfully sew a 1950s dress with lots of darts and other confusing sewing terms for curvy humans and have it turn out okay, then I could probably handle a giant flat square.
Once I ascertained that Sarah wasn't planning to make the quilt herself or hire Kim to do it, I sent Kim an email asking her if she'd give me some quick instructions on how to make the same quilt. Kim, being the superbly awesome lady that she is, emailed me back within the day with a basic breakdown of her method. Thank you, Kim! Have I mentioned that I think you are fabulous?
So, here's how to make this quilt from the perspective of a noob:
1) Purchase your materials:
- Bright Kona Cotton Solids Charm Pack
- white jelly roll (of course, you could buy a piece of white fabric and do the cutting yourself - but this saves SO much time)
- quilt batting (got it at Walmart - thickness is up to you)
- a single large piece of fabric for the quilt backing (thrifted sheet) - color of your choice
- two packs of quilt binding (got it at Walmart) - color of your choice
- lots and lots of white quilting thread (got it at Walmart)

2) Watch this very, very helpful tutorial on Youtube (Missouri Quilt Co's "Make a Baby Quilt" Part 1, Part 2, Part 3, & Part 4). I highly recommend it to anyone learning to make a baby quilt for the first time. I watched it about halfway through the process when I realized I wasn't sure how to proceed and discovered that I actually ironed the back of the quilt incorrectly. Oh well! Live & learn.
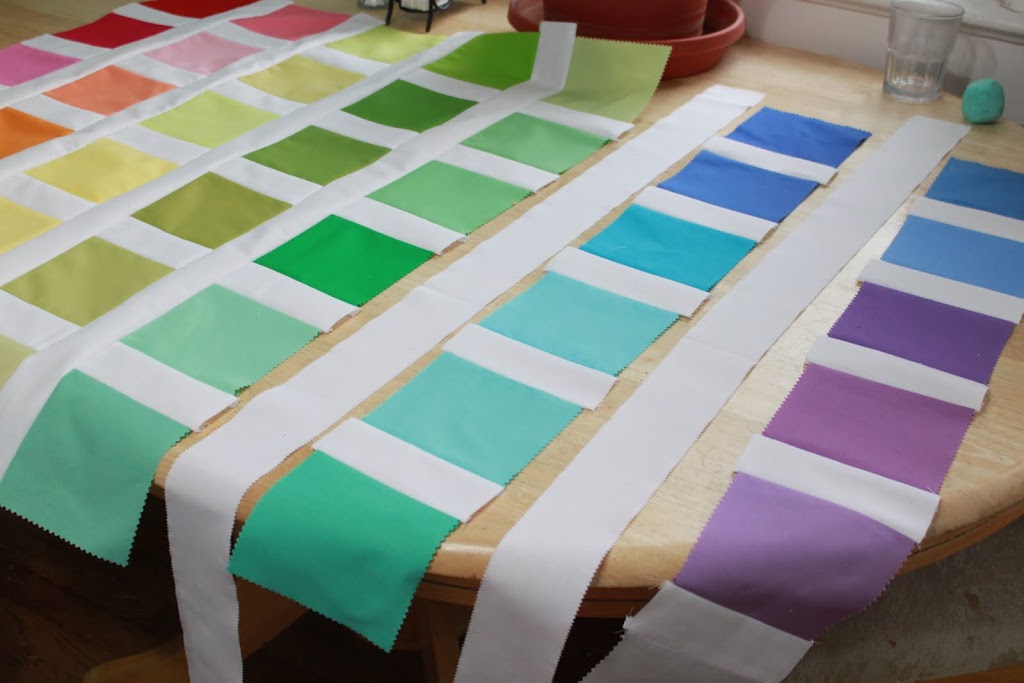
3) Arrange your charm squares the way you want them to be in the quilt.
4) Cut your white jelly roll strips into 5 inch sections. You'll need 35 total.
5) Sew the charm squares together with the 5 inch white strips to create your rows. I didn't bother using pins here, but you could if you wanted to.

6) Iron down the seams on the back of each row.
7) Use long jelly roll strips to sew the rows together. I did use a few pins during this process. Cut off excess length.
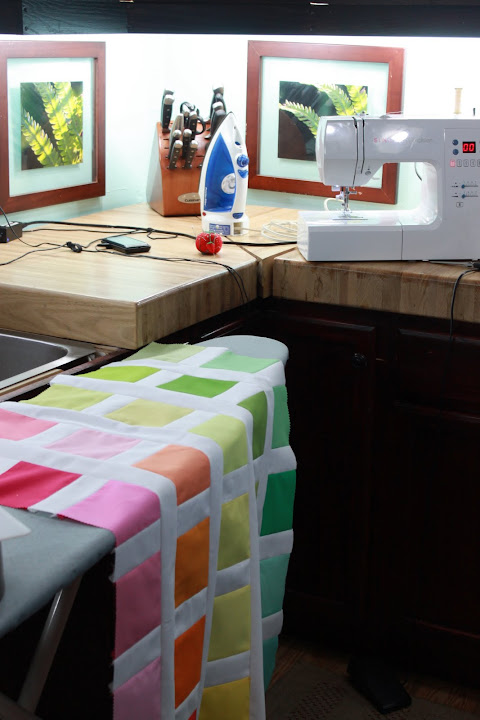
8) The top of your quilt is now pieced together. Iron down all the seams in the back.
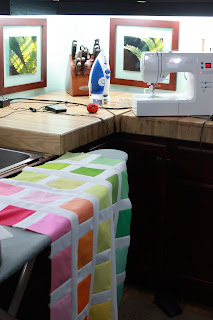
What? Doesn't everyone sew while standing at their kitchen counters?
9) Use jelly roll strips and sew on the outer border.
10) Cut your quilt batting & the backing fabric to the right size and sandwich them all together.
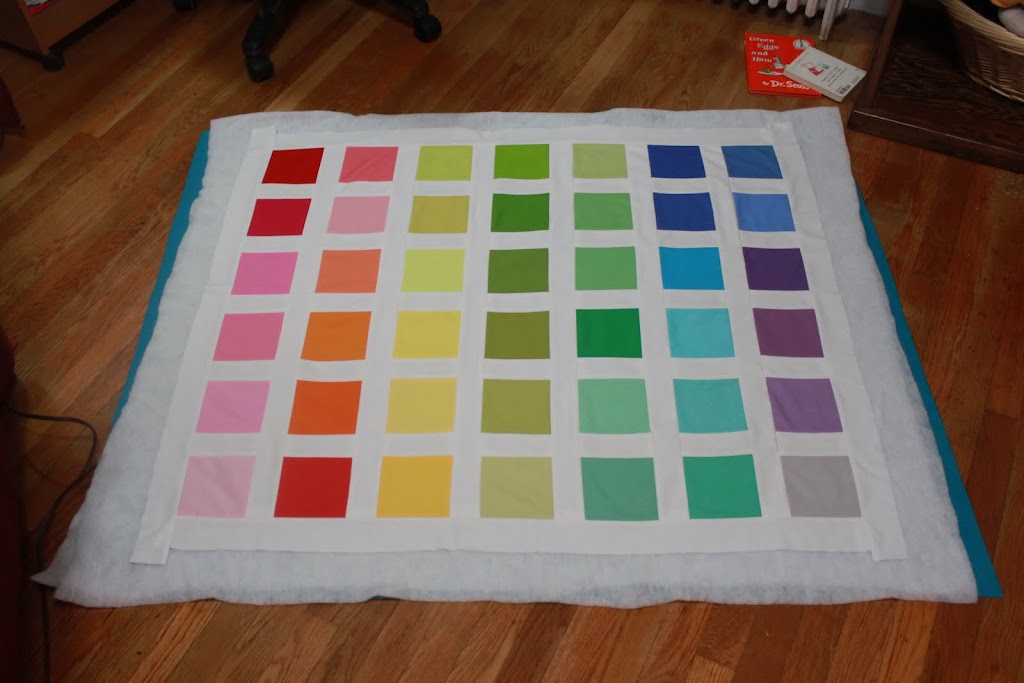
Side note: For the back of the quilt, I cut a large square from the same cotton turquoise $1 thrift store bed sheet that I used for the stripes in my kitchen curtain.

I actually couldn't decide on what color to use for the quilt backing, so I sent Sarah an SOS email:
"If you were able to choose a backing for a hypothetical quilt, would you prefer...
a) turquoise-y teal-y cotton flat sheet
b) thick, warm, very soft dark pinky red fleece (might be too thick? not sure.)
c) medium blue cotton flat sheet
d) medium purple cotton flat sheet
e) cherry red satiny material (would be very slippery and would probably slide off baby - so potentially annoying)
f) white flannel sheet (would be warmer and probably softer)
I'm leaning towards (a), but I thought I'd ask the person presently designing the nursery. Hypothetically.
Of course, if one desperately wanted a cheerful orange (or any other color not previously listed) cotton or flannel backing, one should say so, so that it could hypothetically be procured from Walmart. Hypothetically."
Sarah's response?
"eeeeEEEEEE!!!!
(I'm squealing hypothetically, of course, and have no idea what you're talking about.)
Hypothetically, I'd agree with your determination, and I'd vote for 'A'."
So, turquoise back it was.
(I'm squealing hypothetically, of course, and have no idea what you're talking about.)
Hypothetically, I'd agree with your determination, and I'd vote for 'A'."
So, turquoise back it was.
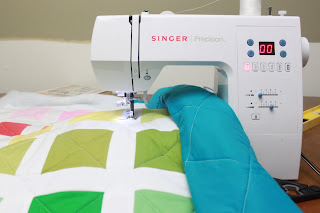
11) Pin your quilt top, batting, and backing together to prevent shifting.

12) Start quilting. I sewed the diagonals in the middle first and then worked my way out.
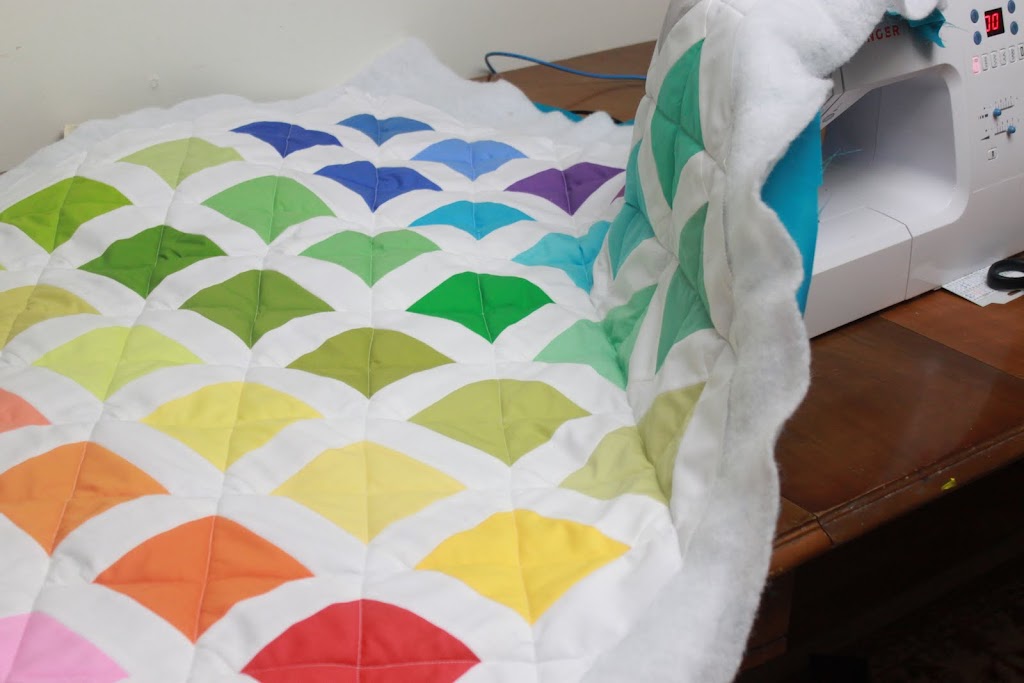
13) Next I quilted straight lines down the middle of each white strip. Once every white strip was evenly divided down the middle, I sewed two more lines on either side of my middle line. This gave me 5 straight lines per strip.

Helpful tip: Roll up your quilt as you work. It prevents the quilt from getting all bunched up as you work and preserves sanity. Threatening to light the quilt on fire if it bunches up again is counterproductive.
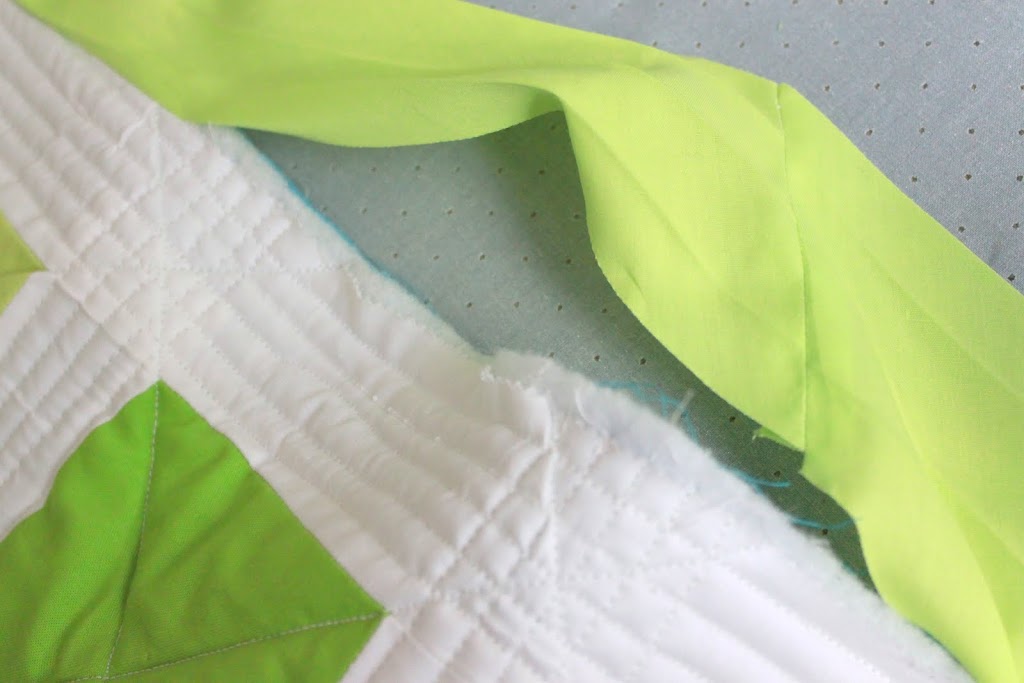
14) Cut off the excess batting & backing around the quilt's edges.
15) Rewatch tutorial on how to sew on the quilt binding. The mitered corners are a little tricky at first.
16) Sew one side of your quilt binding around the edge of the quilt, but be sure to pay attention near each corner. Also, make sure you leave a length of unattached binding at the start and end so you can join the two pieces for a seamless appearance.
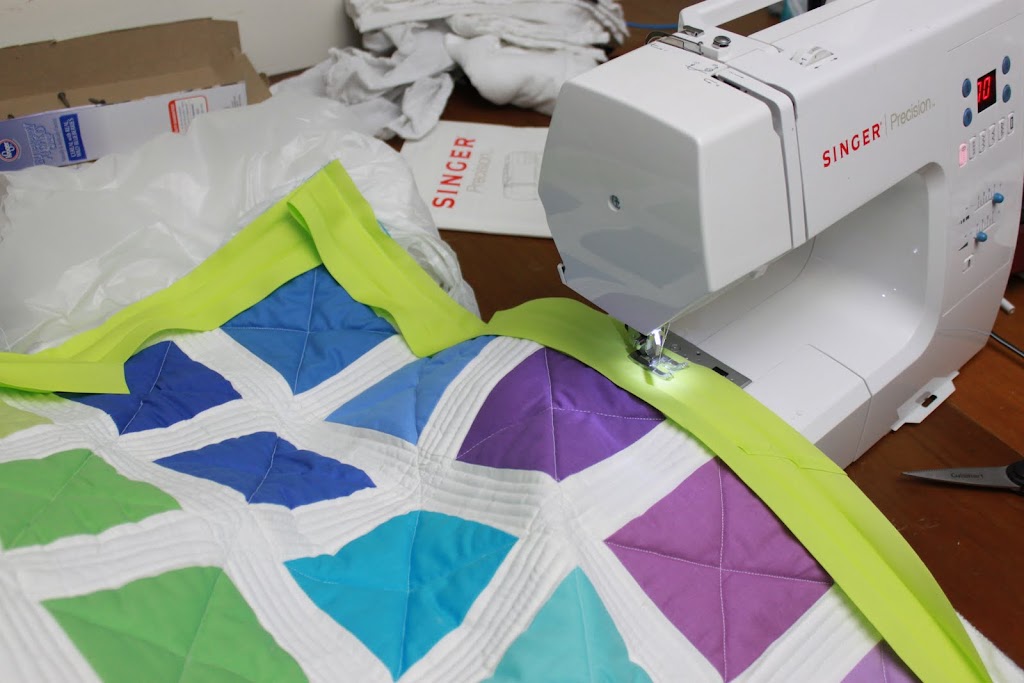
17) Rewatch tutorial on how to join the two ends. You have to sew it together on a diagonal and it's kind of confusing. Join the two ends, then finish attaching the one side of the binding to the rest of the quilt.
18) Fold the binding over to the other side and topstitch it in place around the entire quilt. Periodically check the other side to make sure you aren't missing the edge of the binding. I did this a few times and had to go back and stitch over those sections again.
19) Go dance around your husband's office with the newly finished quilt, proudly brandishing it about, and sing, "I made a quilt, I made a quilt, I made a quilt, hey, hey, hey, hey!" while he tries to ignore you and play computer games with his buddies. Eventually, he'll say, "Very nice!" to make you go away. ;)
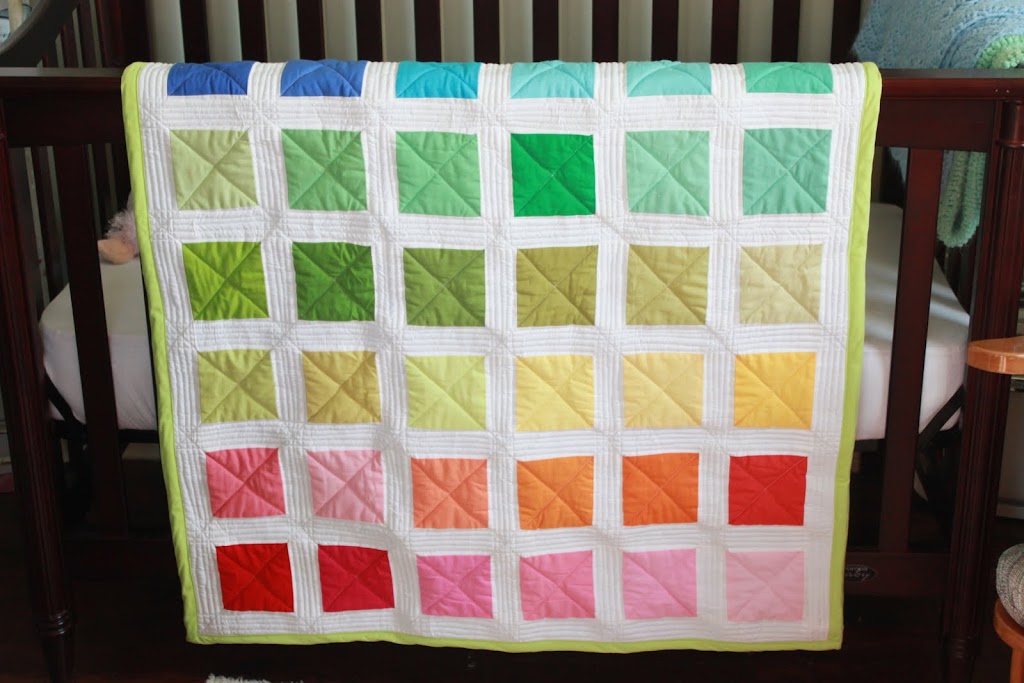
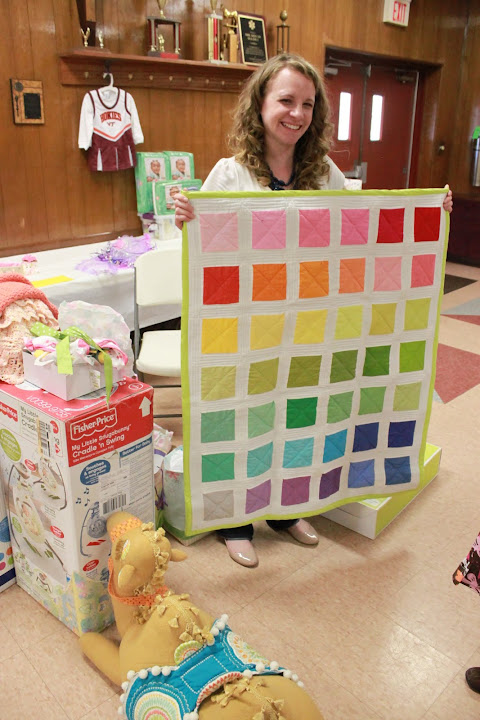
20) You have officially made a quilt! Woot!
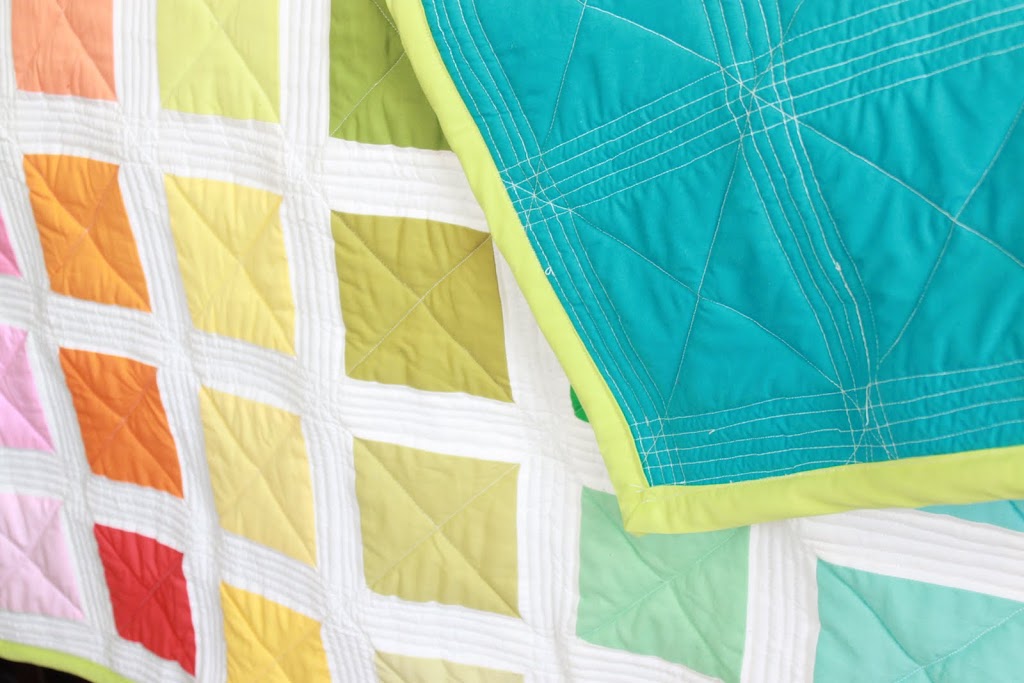
The stitching is a little messy, but it's still so gosh darn cute!!

I can't wait to see how it will look in baby Katherine's nursery!
Heck, I can't wait to see how it will look around baby Katherine! Just think of the photo shoots!! :)
So, Sarah, what do you think? Is that quilt still the bees knees?
It turned out fantastic!
ReplyDeleteI. LOVE. THIS. QUILT.
ReplyDeleteSo much so that I tacked it with tiny tacks to the wall in the nursery so I could drool over it in it's entirety. Because having it draped over the crib rail (for looks only prior to her arrival, fear not. No textiles in the crib for Katherine yet.) didn't let me bask in all it's glory.
You actually totally read my mind. THIS is going to be the background for all of Katherine's monthly pictures. If I'm organized enough to take monthly pictures.
Caroline, Stunning quilt, and what a lovely gift - You took the time to make this in the middle of your very busy life - carving out the time from all the other important demands for this burst of creativity. And the camel- unique, friendly and perfectly huggable. You are truly, amazingly talented and generous.
ReplyDeleteIt SO IS the Bees Knees! I am so impressed! You are one crafty lady :-)
ReplyDeleteThis quilt turned out AMAZING! Wow! Amazing! I love the turquoise on the back, too. And the colors really are the bee's knees. So much happiness in that quilt. Love it!
ReplyDeleteI am super impressed by this... I almost, you make it looks so easy I almost think I could make one.
ReplyDelete