
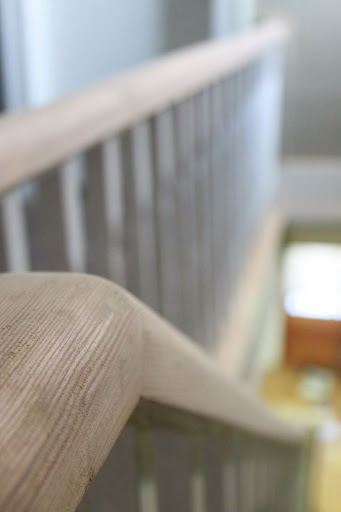
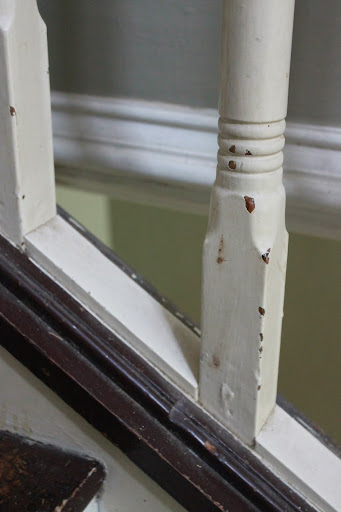
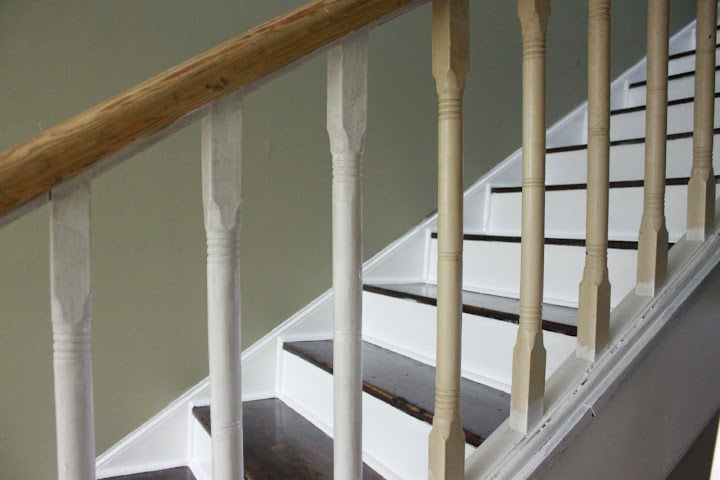
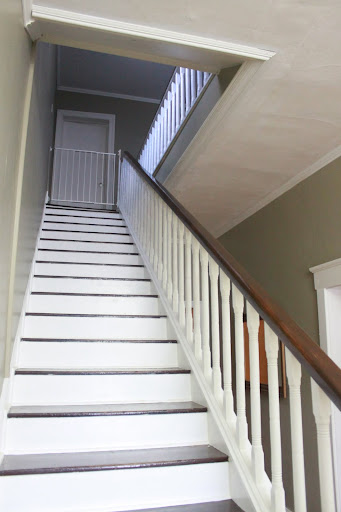
As previously mentioned, this is the condition my poor staircase has been in for the past TWO YEARS:
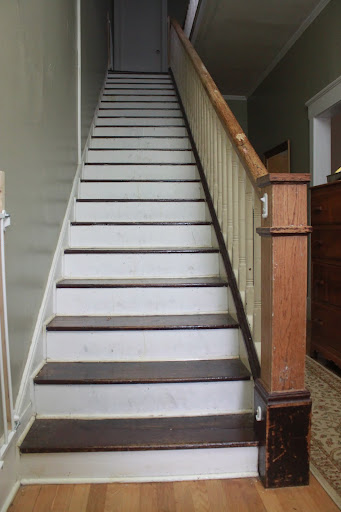
Half naked. Partially stripped. Sloppily painted & badly varnished by it's previous owners. In a word - SAD.
So, how is it possible to ignore a half-sanded railing & uncapped, half-sanded newel post with lots of sharp, pointy nails inside of it for two years?

Easy.
Become a first year high school teacher and a first time mother with a husband who works long/late hours all within the space of a year. Odd, but you really stop noticing that your railing isn't finished when you are buried under student tests & baby spit up.

Then, when you are back to functioning normally, start up a bunch of other projects (the addition, the sandwich shoppe, etc) and work on those instead. Because that makes sense. Right?
See? Easy. Life happens and banisters get left in the dust. Literally.
Still, two years is kind of ridiculous.
Recent discussions about possibly manufacturing tiny siblings for Joseph sometime in the far distant (ok semi-near) future prompted the horrifying thought of living with an unfinished banister for yet another two years.
*shudders dramatically*
That sure lit a fire under my petunia!
So, how to go about finishing the darn thing once and for all?

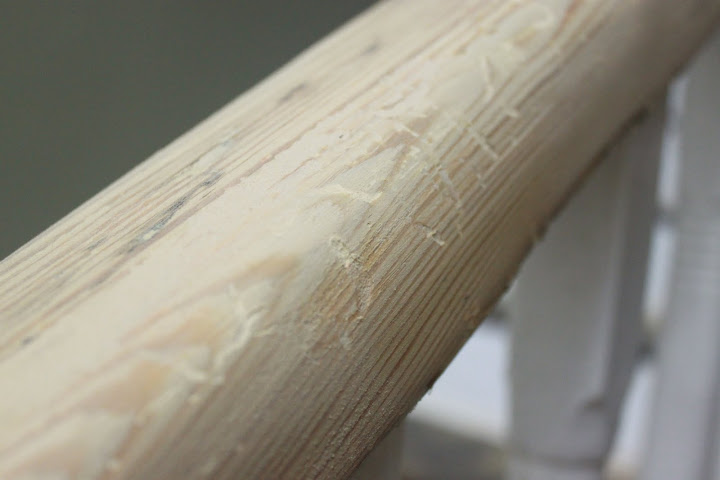
Really, it's quite discouraging. Stupid previous owners with their stupid ravenous beaver pet beasts. Railings should not be used as chew toys!! They bleed!

Photo courtesy of Stephen. He's got real artistic talent.
Step 2: Breathe deeply & find some wood filler.
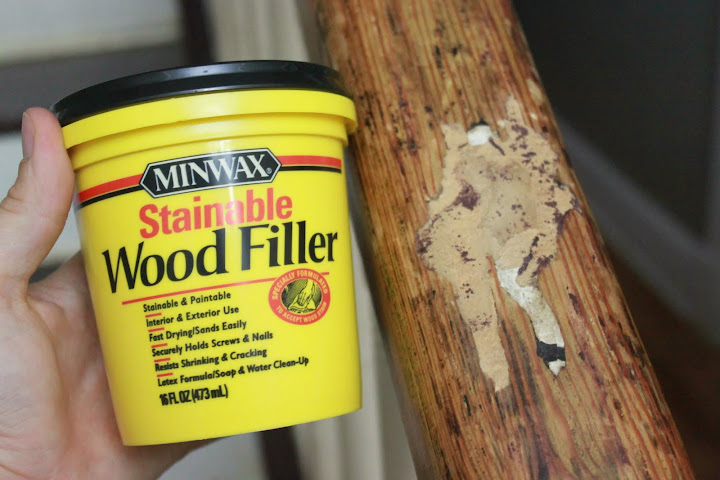
Lots of wood filler.
LOTS OF WOOD FILLER.
Breathe. Lowes carries more wood filler if you have to use the whole tub.

Step 3: Sand the railing for 5 hours. Half naked. In your underwear. Because it's flipping 87 degrees & humid in the house. And clothes are overrated. Duh.
You may think I'm joking. But I'm not.
Curl your lip at the random orbital sander. Been there done that. Not worth it.
Coo lovingly at the uber macho belt sander. OOOH YEEEAAAH.
Use said macho belt sander on your 135 year old railing.
Break your 135 year old railing.

Look! Man shoulders! It's all those steroids I've been taking.
Just kidding. I'd be curled up in a fetal ball crying hysterically if I'd broken the railing. I did, however, feel some trepidation about using the belt sander on the railing, so I was very careful about how much pressure I applied.
I used 40 & 80 grit with the belt sander, but I hand sanded with the rest of the sandpaper grit levels until I finished up with 220. It really did take about 5 hours of sanding. And I was COVERED in sawdust by the end.
At this point, I started wishing for smurf cocaine.
Thank you, Mom, for watching Joseph so that I could take care of business. With the trouble maker gone and The Offspring blasting through the house, I really got into the groove of sanding.
I don't know what you do when you take on tedious projects like this, but I got into the rhythm of sanding a small section of railing for the length of a Hail Mary, then moving up to the next section, and repeating the process. It seemed the thing to do. I have family members who need prayers and it was better than counting to 15 over and over again. Although, it felt a little weird to be praying Hail Mary's half naked with "Pretty Fly for a White Guy" blaring in the background. I hope I didn't offend Mary.
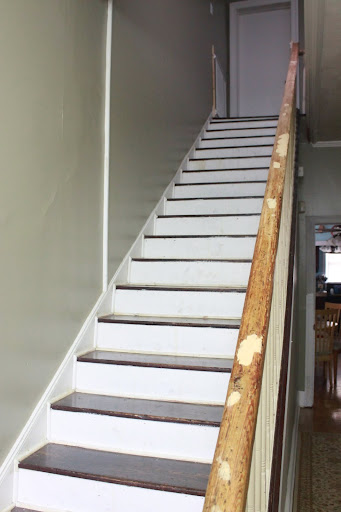
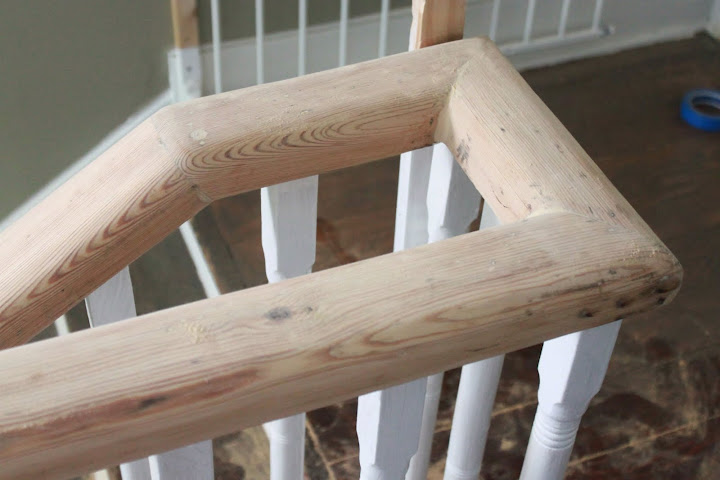
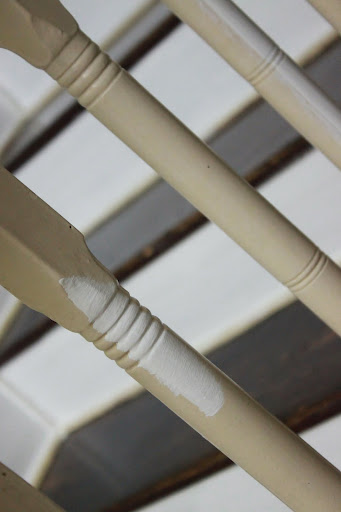
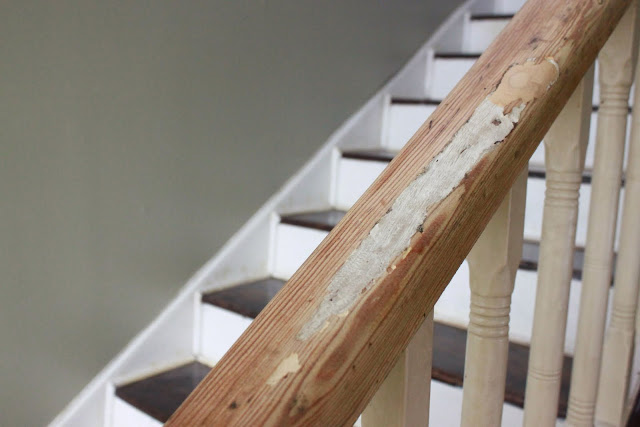
The railing is made up of 5 sections of wood. They are all really nice, solid pieces of wood except for the piece nearest the newel post. That section has been the victim of wood worms or dry decay or ravenous beaver beast pets or something.
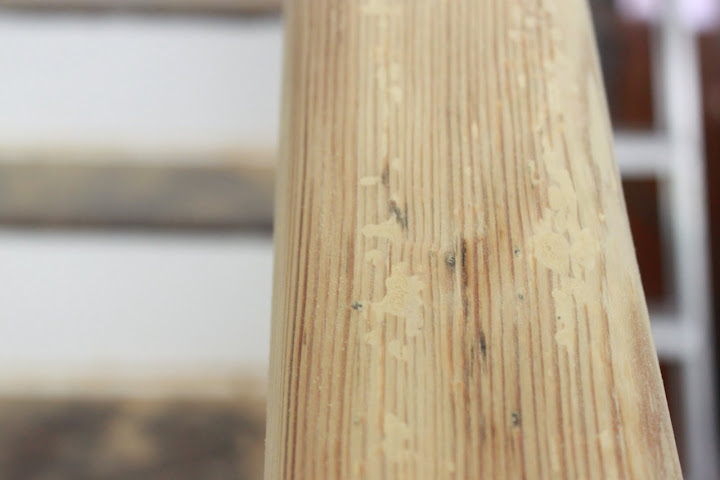
It seemed that the more I tried to sand that section of railing smooth, the more problems I revealed
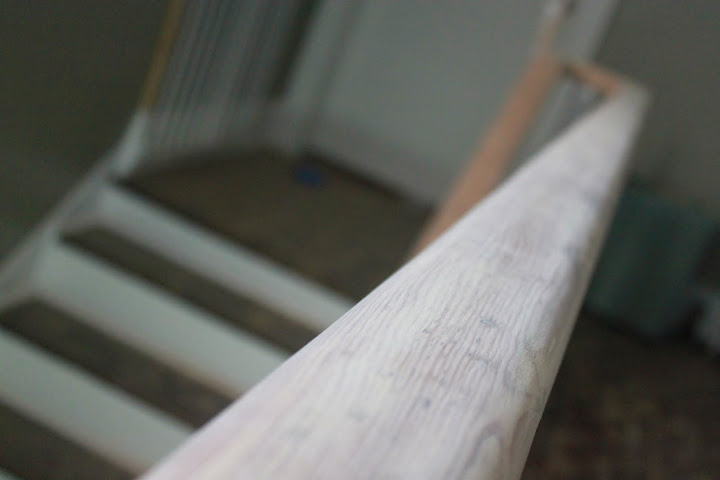
I smoothed the rail as best as I could and then I vacuumed the dust off the railing... And revealed even more holes! Well, crap.

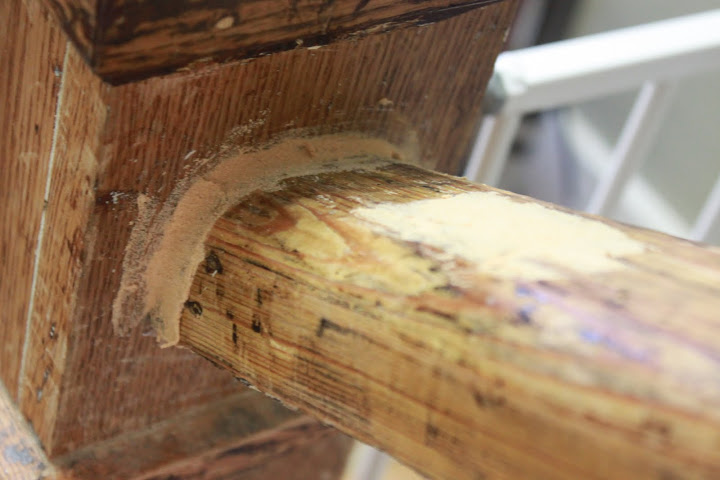
Harumph! Look at the size of that stupid hole!
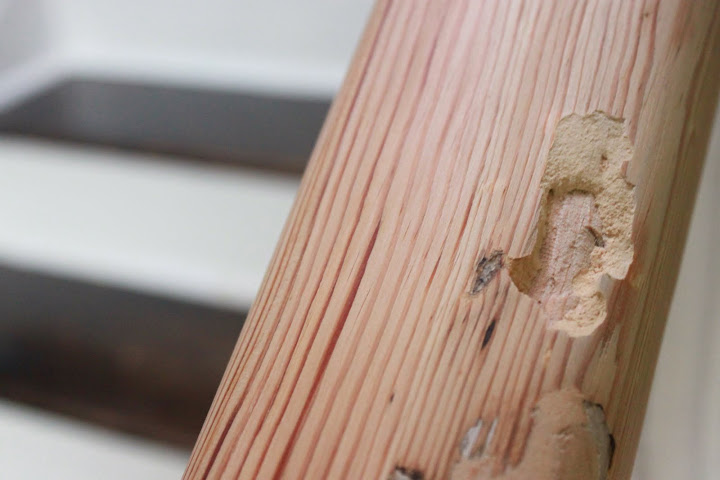
Time to get out my meager supply of wood filler and go to town with it. Again. Just imagine the entire lower half of the railing C-O-V-E-R-E-D in wood filler. Which of course, meant more sanding, but I reached a point on that section of railing where it was as good as it was ever going to get. Time to accept it and move on. It's 135 years old. It's earned a little character, right?
Step 4: Vacuum the WHOLE house. Curse you, Perry the Platypus!... er... I mean.. Curse you, Sawdust!
Step 5: Wipe down the railing to remove any lingering sawdust. Don't use water. It causes the grain of the wood to swell and stand up. Use either rubbing alcohol or mineral spirits.

Step 6: Finally finish beautifying the the sadly mauled railing. Here are all the materials I used in the process of refinishing the staircase.

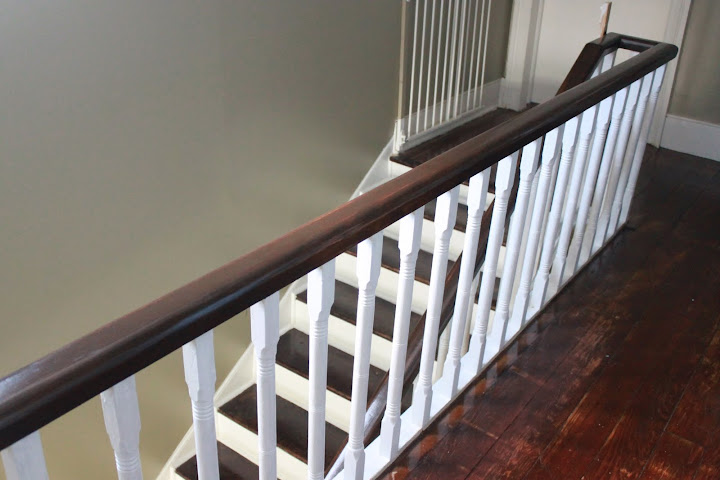
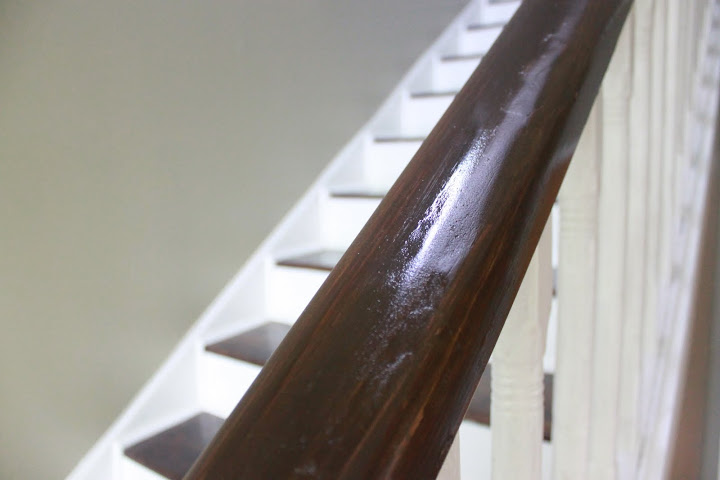
For the railing, I applied 3 coats of Cabot's dark walnut wood stain. I chose this stain at the recommendation of Fabulous Paint Guy at Lowes. He's the best! I always get my paints and stains from him. He's sweet, helpful, and knows his products. He recommended Cabot because it was a thicker oil-based stain that was more likely to cover up the copious amounts of wood filler I had used to repair my railing. I usually use Minwax, but Fabulous Paint Guy said that you reach a point with the thinner water-based Minwax stains where you just can't get your wood any darker. Not so with Cabot.
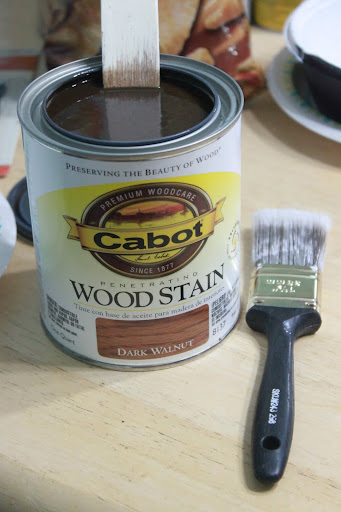
I used a brush to paint the stain on and I didn't wipe any of it off. The transformation was instant and gorgeous! Then I applied 4 coats of High-Gloss Wipe On Poly. Best. Stuff. Ever. It's so easy to apply. I sanded with 220 grit sandpaper between each coat, wiped the dust away with mineral spirits, and ended up with a super shiny finish.

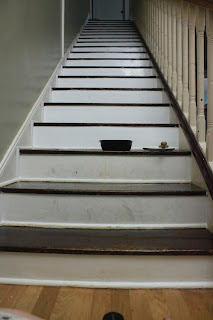
Step 7: Examine the risers of the staircase and curse former owners as complete and utter incompetent bozos.

From afar, it looks grungy. Up close, it's just completely unacceptable.
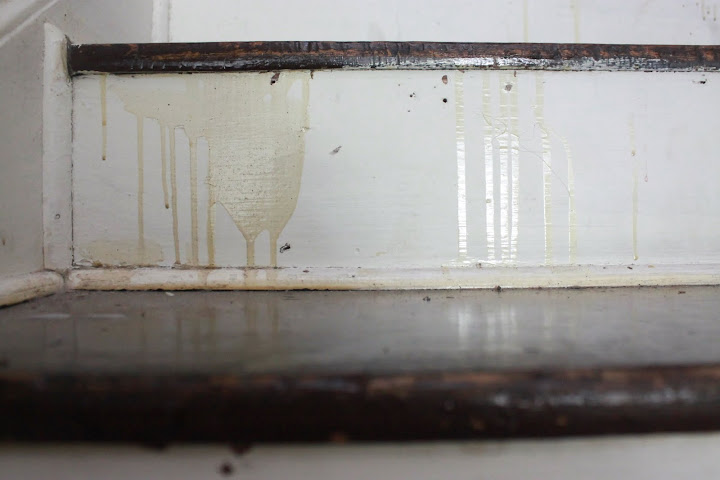
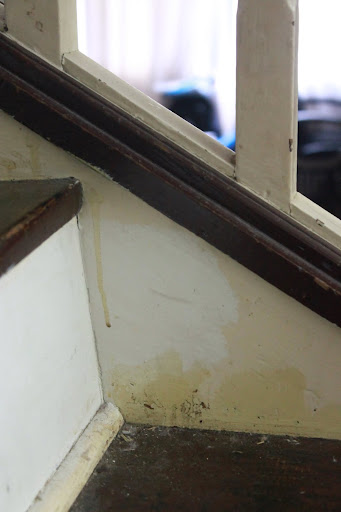
...Seriously. When they painted the risers, they got paint all over the stair treads. When they varnished the stair treads, they let the varnish drip all over the risers. I think they were drunk. I really, really do. Oh, LOOK! Hair!
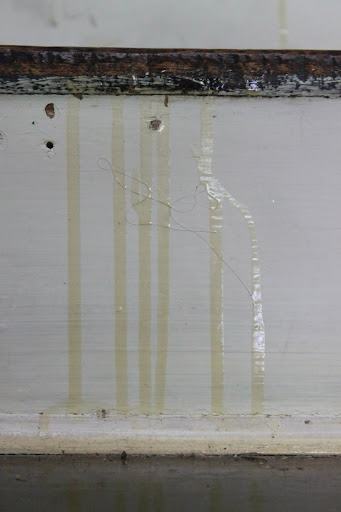
There were at least 10 nail holes in every riser. AND they half varnished/half painted the stair skirts.
Definitely drunk.

Oh, and all of the off-white balusters were nicely chipped up.
My staircase was in desperate need of some TLC.
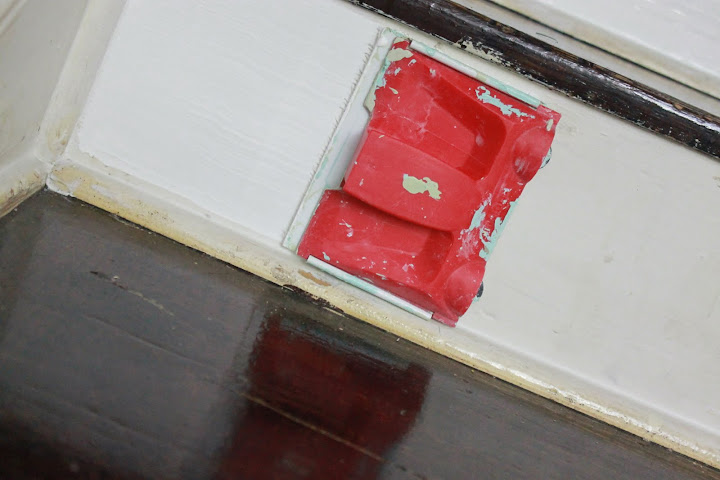
Step 8: I spackled all of the nail holes and then used paintable caulk on the crack of every single stair riser, tread, and skirt.
Step 9: Semi-gloss ultra bright white Valspar paint to the rescue!

It was like a breath of fresh air.

When painting stair risers, I highly recommend the use of a Shur-line edger. It fit my risers perfectly! Granted, they are short risers.

Look, Ma! No hands!
It even worked on the left stair skirt.
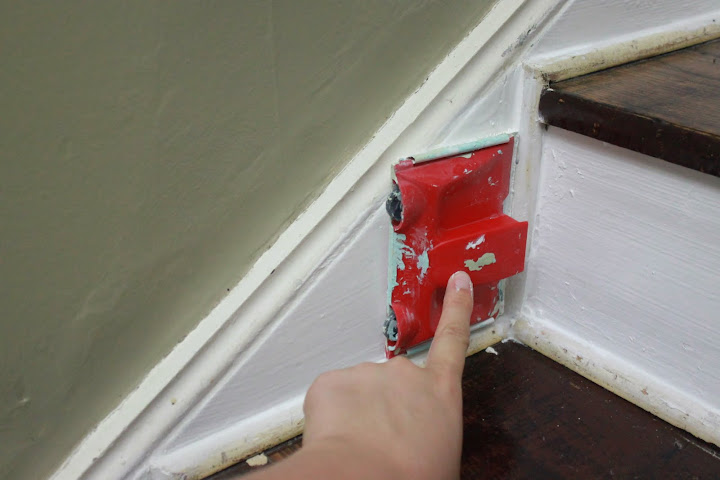
Not so much the right skirt... or the quarter round, but that's what an edging brush is for.

Repeat process twice for all 21 steps and then dance around happily because the risers are actually white.
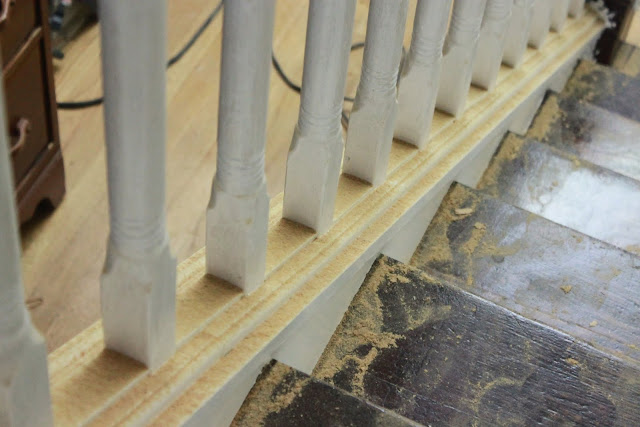
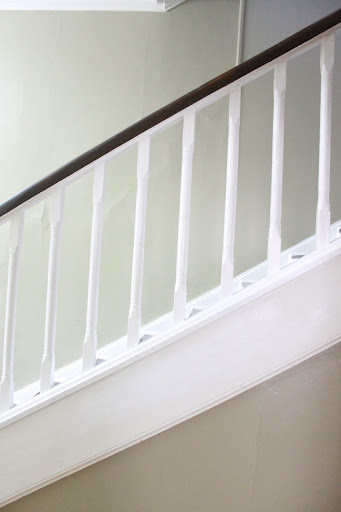
Step 10: 58 Balusters. FIFTY EIGHT. All a lovely shade of ivory.
58. And I painted every one of them twice. I can not even begin to express how much a pain in the but this was.

But it was totally worth it.
Even if my husband snuck up on me with the camera at 3 in the morning when I was prancing around in a sports bra and attached to an extension cord via my Android & headphones. Hotness.

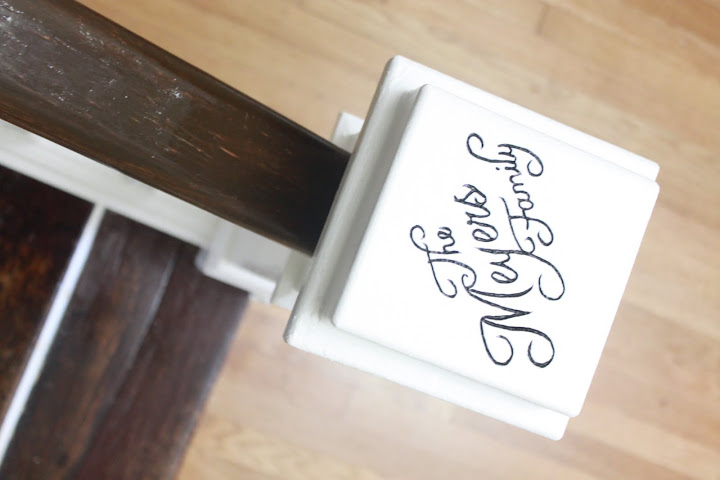
Step 11: Attach the pretty new newel post cap.
Step 12: Whoops, now I've done it. I made a clean spot. Time to paint all of the trim in both the upstairs and downstairs halls to match the stair trim. Good thing, too, because the trim on this door has been half painted for over 2 years.

Hmm. Must paint door white. Soon.
Step 13: Finally, after 2 years, appreciate the awesomeness that is now your staircase.
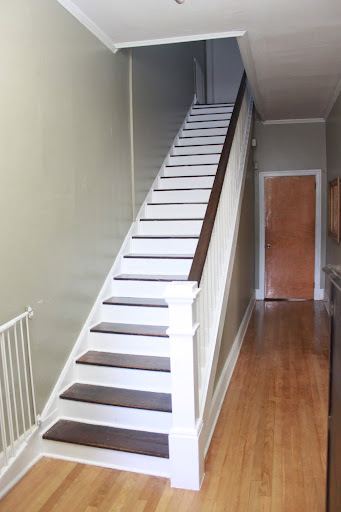

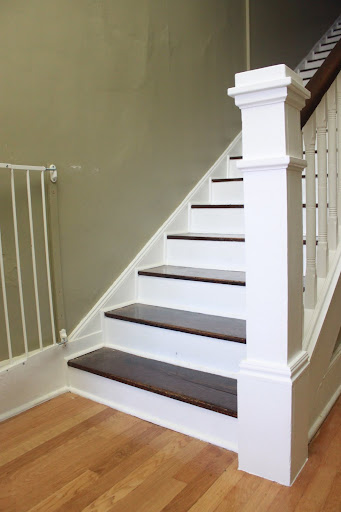
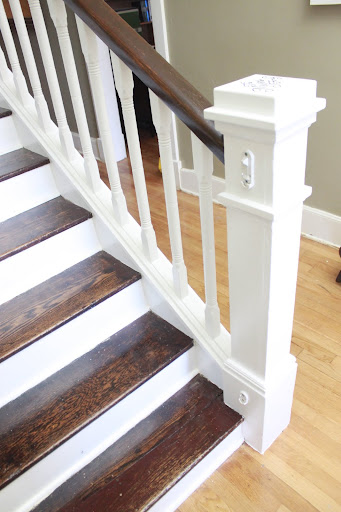
Due to the troubles I had with the lowest section of the railing, it's not completely smooth. But it has character.
As for the giant beaver gouges...
BEFORE, DURING, & AFTER


BEFORE ... DURING

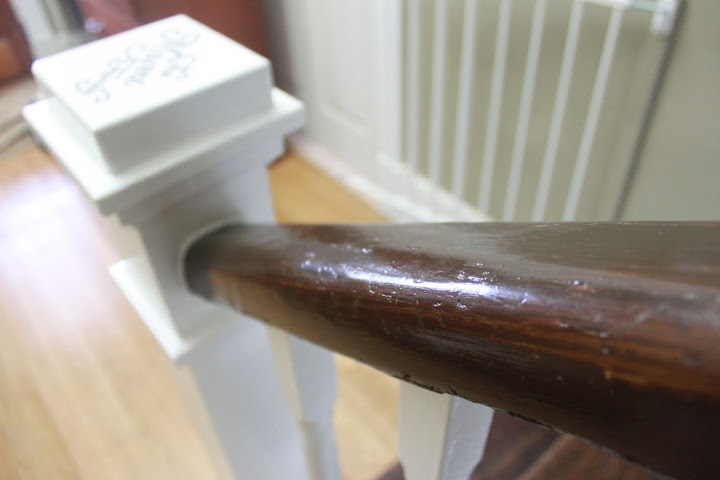
And AFTER. You can tell where the wood filler is based on the texture, but it's not at all noticeable. Victory!
The rest of the banister is silky smooth.
BEFORE

AFTER

BEFORE

AFTER

I completely forgot to put the carpets back before taking pictures. Oh well.
One of these days, I'll give the stair treads some love. But for now, I'm just so gosh darn happy it looks halfway decent!
OH MY GOSH, CAROLINE!!! Seriously, your stairs gave me palpitations of happiness. You did an AMAZING job!!! I'm so excited to see it tonight!!! :) :) :)
ReplyDelete